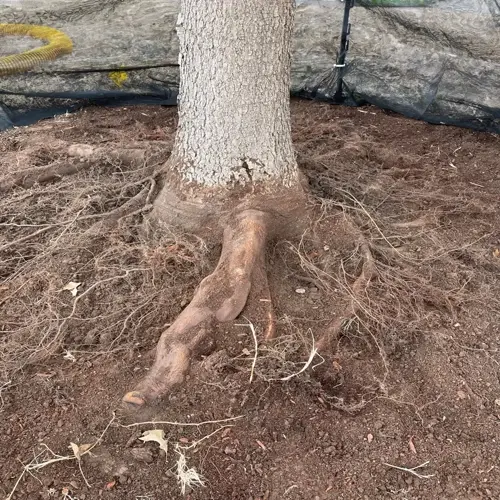

Cleaning harvested garlic works best with gentle brushing rather than washing with water. Wait until after curing to remove any soil clinging to your bulbs from the garden. Water on fresh garlic can seep between the wrapper layers and cause rot that ruins months of hard work.
The right garlic cleaning technique keeps those protective outer layers intact on each bulb. Use a soft brush with natural bristles or even an old toothbrush to work away dried dirt. Your goal is removing loose soil without tearing the papery skin. That skin protects your garlic during the long months of storage ahead.
I keep a small brush by my curing area and clean each bulb right before moving it to storage. The dried soil flakes off with just a few gentle strokes once the garlic has cured for two to four weeks in a warm dry spot. Any dirt that still clings tight after brushing can stay put since it will not hurt the bulb or affect the flavor of the cloves inside.
Here is why water causes so many problems for your garlic harvest. Moisture gets trapped between those papery wrapper layers and cannot escape. This creates the perfect spot for mold and bacteria to grow and spread. Even a quick rinse under the tap can start rot moving through the bulb within just a few days.
Preparing garlic for storage means keeping everything as dry as you can from harvest through curing. Shake off loose dirt when you first pull the bulbs from the ground on harvest day. Let them cure with that remaining soil still attached since it will dry out and brush off much easier later on.
Never peel away the outer wrappers even if they look dirty or stained from the soil. Those layers protect the cloves inside from air and moisture that speed up spoiling over time. A dirty wrapper beats no wrapper when you want your garlic to last through winter and into early spring.
I learned this the hard way when I tried washing my garlic my first year growing it. The bulbs looked so clean and pretty after their rinse in the sink. But they started getting soft spots within just a week of sitting out. Half that harvest went to the compost pile instead of my kitchen because I did not know the right way of cleaning harvested garlic at the time.
Removing dirt from garlic gets easier with the right timing in your post-harvest routine. Wait until curing finishes and the outer layers feel dry and papery to the touch. The soil releases from dry wrappers with almost no effort at all. Compare that to scrubbing wet bulbs fresh from the ground where you risk tearing the protective skin.
Trim the roots and stems at the same time you do your final cleaning for the best results. Cut the roots down to about half an inch from the bulb base with sharp scissors or pruners. Trim the stem to one inch above the bulb or braid them if you grow softneck types. This final trim and clean prepares your garlic for its spot in storage where it can last for months.
Your cleaned garlic goes into mesh bags or wire baskets with good airflow all around each bulb. Store them somewhere cool and dry with temps around 55°F to 60°F (13°C to 16°C) for best results. A basement or unheated closet often works well for keeping garlic fresh through winter. Check on them every few weeks to catch any bulbs that start going soft before they spread problems to the rest.
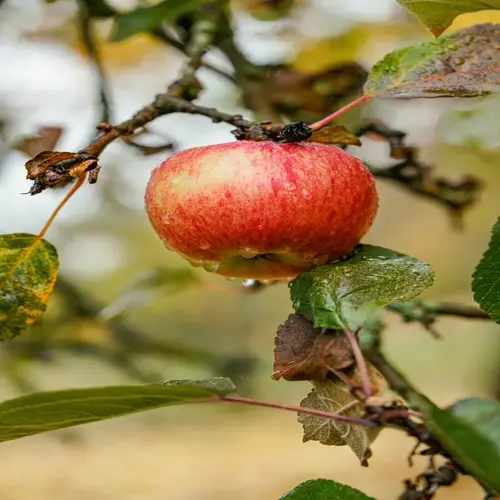
Read the full article: When to Harvest Garlic and How to Do It Right