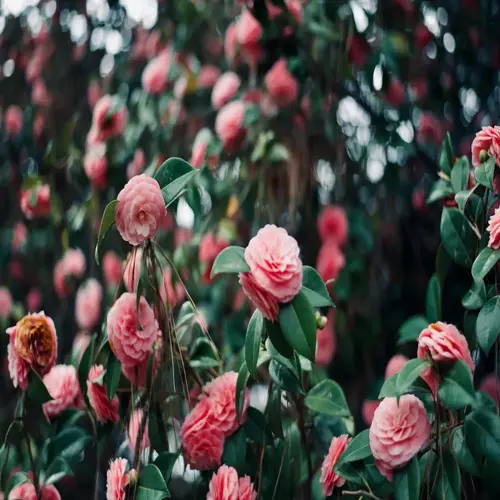

You might wonder if camellias difficult to grow is a fair label. The short answer is no. They have a reputation for being fussy, but the truth is they just need acidic soil and partial shade to thrive. Meet those two demands and your camellias will take care of the rest with very little help from you.
When I first started growing camellias, I made every beginner mistake in the book. I planted my first one in plain garden soil with a pH around 7.2 and wondered why the leaves turned yellow within a few months. Once I tested my soil and added sulfur to bring the pH down to 6.0, that same plant bounced back and looked great by the next spring. The learning curve is short and the payoff is huge.
Easy camellia care comes down to getting the setup right from day one. Most of the problems people blame on camellias being hard to grow trace back to alkaline soil. When the pH sits too high, iron gets locked out of the root zone. Your plant can't absorb it and the leaves turn yellow with green veins. This condition is called chlorosis and it looks scary but the fix is simple. Drop your soil pH into the 5.5 to 6.5 range and the problem goes away.
UF/IFAS Extension backs this up with a clear statement. Camellias rarely develop serious disease problems if you plant them and care for them the right way. That means the setup phase does most of the heavy lifting for you. Get the soil right, give the plant some shade, and water it through the first dry season. After that first year, your camellia needs very little attention to keep producing blooms.
In my experience, established camellias are among the easiest shrubs in the garden. I water mine during long dry spells and feed them once in early spring. That is about it. I don't spray for pests or treat for diseases. They just grow and bloom year after year without me fussing over them. Compare that to roses, which need constant pruning, feeding, and spraying.
If you're new to beginner camellia growing, try sasanqua varieties first. Sasanqua handles more sun and drought better once its roots settle in. NC State Extension also notes it resists root rot from Phytophthora fungus. Pick 'Yuletide' or 'Shi Shi Gashira' for your first plant. Both are tough, forgiving, and bloom in fall when your garden needs color.
Start with a 1-gallon plant from a local nursery, dig a hole twice as wide as the root ball, and mix pine bark into your native soil. Water it deep once a week for the first summer. Mulch with 3 inches of pine straw to hold moisture and keep the roots cool. That simple process gives your camellia everything it needs for a strong start. You don't need a green thumb to grow camellias. You just need the right soil.
Your biggest task after planting is just keeping an eye on things for that first year. Check the soil moisture once a week by sticking your finger 2 inches into the ground near the roots. If it feels dry, give your plant a deep soak. After that first year, your camellia's root system will be strong enough to find its own water in most climates. You can sit back and enjoy the blooms without much work at all.
People call camellias difficult to grow because they don't take the time to match the plant to their soil. Once you fix that one thing, you join thousands of gardeners who grow these beautiful shrubs with very little effort. Your camellia doesn't ask for much. Just give it what it wants from the start and it will reward you for decades.
Read the full article: Camellia Plant Care and Growing Guide