
You can identify spoiled seeds by looking for color changes, mold growth, and texture problems before you plant. Good seeds have a uniform color and firm texture. Bad seeds often look faded, wrinkled, or soft. A quick visual check catches most problems before you waste time planting seeds that will never sprout.
I learned to spot bad seeds after losing a whole row of beans to spoiled stock one spring. The seeds looked okay at first glance. But when I looked closer they had tiny white spots and felt squishy. Now I check every batch before planting and toss anything that looks off. This habit saves me from wasted effort and empty garden beds.
The bad seeds signs you should watch for include several clear warning flags. Mold shows up as fuzzy white, green, or black spots on the seed coat. Faded or uneven coloring across the batch points to problems. Wrinkled or shriveled seeds have lost moisture and may lack the energy to sprout. Seeds that feel soft or mushy have soaked up too much water.
The science behind seed spoilage comes down to oxidation and moisture damage. When seeds absorb water, their stored food starts to break down. Enzymes that should stay dormant wake up and burn through the seed's energy reserves. Mold spores find a perfect home in this damp setting. The seed coat can also crack or weaken which lets more damage in over time.
You can check seed quality with a simple float test at home. Fill a glass with room temp water and drop your seeds in. Wait about fifteen minutes and watch what happens. Seeds that sink still have dense, viable insides. Seeds that float have likely dried out or rotted inside. This test works well for larger seeds like beans, peas, and squash.
Smell also tells you a lot about your seed quality. Fresh seeds have little to no odor at all. Seeds that have gone bad often smell musty, sour, or rotten. I once opened a jar of squash seeds that had gotten moist and the smell hit me right away. Trust your nose when something seems off and toss any batch that smells wrong.
Iowa State Extension says a germination test is the gold standard for seed quality checks. Take ten seeds from your batch and place them on a damp paper towel. Fold the towel over and put it in a plastic bag. Keep it warm for seven to ten days and count how many sprout. This gives you the true germination rate to expect.
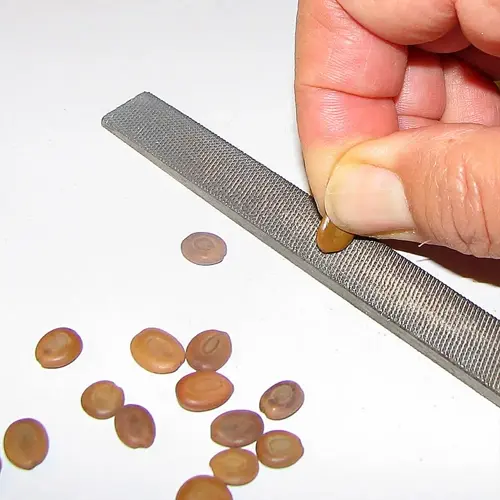
I also run texture checks on older seeds before I plant them. Healthy seeds feel firm when you press them between your fingers. Seeds that have started to spoil feel soft or spongy. Some seeds get cracks in their coat that let moisture and mold get inside. Run your fingers through a batch and pull out any that feel different from the rest.
Visual checks work well for catching obvious problems but cannot spot all damage. Seeds can look fine on the outside while being dead inside. Old age causes invisible damage at the cell level that you cannot see. Always pair your visual inspection with a germination test for any seeds older than two years. This combo gives you the full picture of what your seeds can do.
Read the full article: 3 Essential Rules: How to Store Seeds