
You can stratify seeds at home with your kitchen fridge and a few basic supplies. Home seed stratification works just as well as fancy lab methods. All you need is cold space between 33-41°F (1-5°C) and something to keep seeds moist. Your regular fridge does this job perfectly well.
I started doing this years ago when I wanted to grow native wildflowers from collected seeds. My setup was dead simple. I grabbed paper towels, sandwich bags, and a marker from the kitchen. Within ten minutes I had three species sorted in the crisper drawer. That batch gave me 80% germination the next spring and got me hooked on this method.
The fridge gives seeds the steady cold they need to break dormancy. This cold breaks down growth blockers inside the seed coat. It also boosts gibberellin, the wake-up hormone that tells seeds to sprout. Without this cold period, many tree and flower seeds just sit in your soil for months. Some stubborn ones will wait years before they decide to grow.
DIY seed stratification puts you in full control of the whole process. You pick when to start rather than waiting for winter weather outside. Most home gardeners choose the paper towel method or moist sand approach. Both work great for different seed types and batch sizes depending on your needs.
Paper Towel Method
- Setup steps: Get a paper towel damp but not dripping wet. Fold seeds inside and seal in a plastic bag with the date written on it.
- Best uses: Works great for small batches where you want to watch for early sprouts before the planting season arrives.
- Weekly care: Open the bag every seven days to check moisture levels. Add a few drops of water if the towel feels dry at all.
Moist Sand Method
- Container prep: Mix one part seeds with three parts damp sand. Put this mix in a sealed box with tiny air holes poked in the lid.
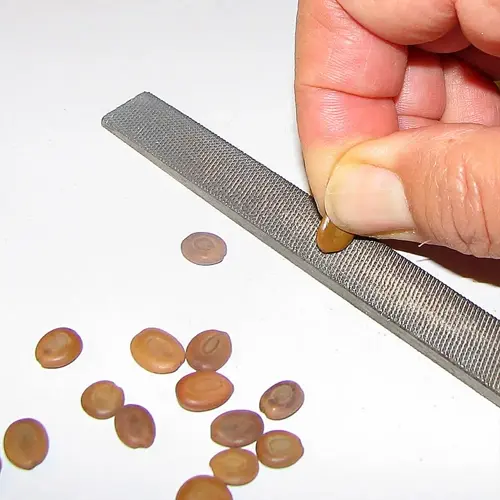
- Best uses: Handles big seed batches well and works great for hard-coated seeds that benefit from gentle rubbing during storage.
- Storage spot: Place containers in the back of your fridge where temps stay most steady, away from the door opening.
Sealed Container Method
- Material picks: Use damp peat moss or vermiculite inside glass jars or plastic boxes with tight-fitting lids for best results.
- Label system: Write the plant name, start date, and expected end date on each box. This saves you from guessing later on.
- Space tip: Claim one fridge drawer just for seeds and tell family members to leave it alone during the cold treatment process.
I learned the hard way that checking moisture matters a lot more than I first thought. One winter I forgot about a batch of milkweed seeds for three weeks straight. The paper towel had dried out and those seeds never woke up from dormancy. Now I set a phone reminder for every Sunday morning to peek at all my bags and containers without fail.
Set up your own weekly check routine for the refrigerator seed treatment period. Too dry and the dormancy-breaking process stalls out on you. Too wet and mold takes over fast and ruins everything. Finding that middle ground keeps your seeds happy and healthy through the whole cold spell they need.
Write the species name and start date on every single container you make. Most seeds need 30 to 90 days of cold treatment to break dormancy. Some tough species want up to 120 days of chill time. Good records tell you when each batch is ready for soil. Spring planting goes much smoother when you know your seeds are fully prepped and just waiting to grow.
Read the full article: How to Stratify Seeds: Ultimate Methods Guide